
Welcome to Purple Pawn, covering games played around the world by billions of people every day.
Print and Play Part 1: The Micro 3D
17 Oct
Posted by Rob Kalajian as Card Games, CCGs, Classic Board Games, Gamification, Miniatures, Modern Board Games, RPGs, War Games
Welcome to the first part of Print and Play, a series I’ve been thinking and working on for quite some time now. Over the past few years I’ve noticed a trend. More and more publishers, designers, and gamers are using 3D printing to create, prototype, or supplement their gaming. There are dozens 3D printers on the market, and more arriving every day. A lot of them are falling into pretty affordable ranges for the average consumer. Hence the first printer in this series, the Micro 3D. My thought was to test every 3D printer I could get my hands on to see how they stack up, and how they could be used in tabletop gaming.
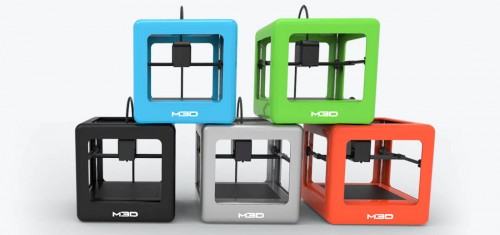
The Micro 3D was a huge success on Kickstarter with over 12,000 backers. The mission of the Micro was to be an attractive, affordable, quality 3D printer for the average consumer. Coming in at only $350, the printer has the following tech specs (take from the Micro 3D site):
“Supports many different materials: ABS, PLA, nylon, professional, chameleon
50-350 micron layer resolution
15 micron X and Y positioning accuracy
Filament: standard 1.75mm. 1/2lb rolls fit within print bed and allow you to try a variety of materials and colors for less! Standard filament rolls also supported.
Print height: 116mm (4.6″)
Base Print Area: 109mm x 113mm
Print Area Above 74mm: 91mm x 84mm
Removable Print Bed Size: 128x128mm
Printer Dimensions: It’s a cube, 7.3 in (185 mm) per side.
Printer weight: 1kg (2.2 lbs)
Package weight: 2kg – 2.7kg (4.4 lbs – 6 lbs)
USB Compatible”
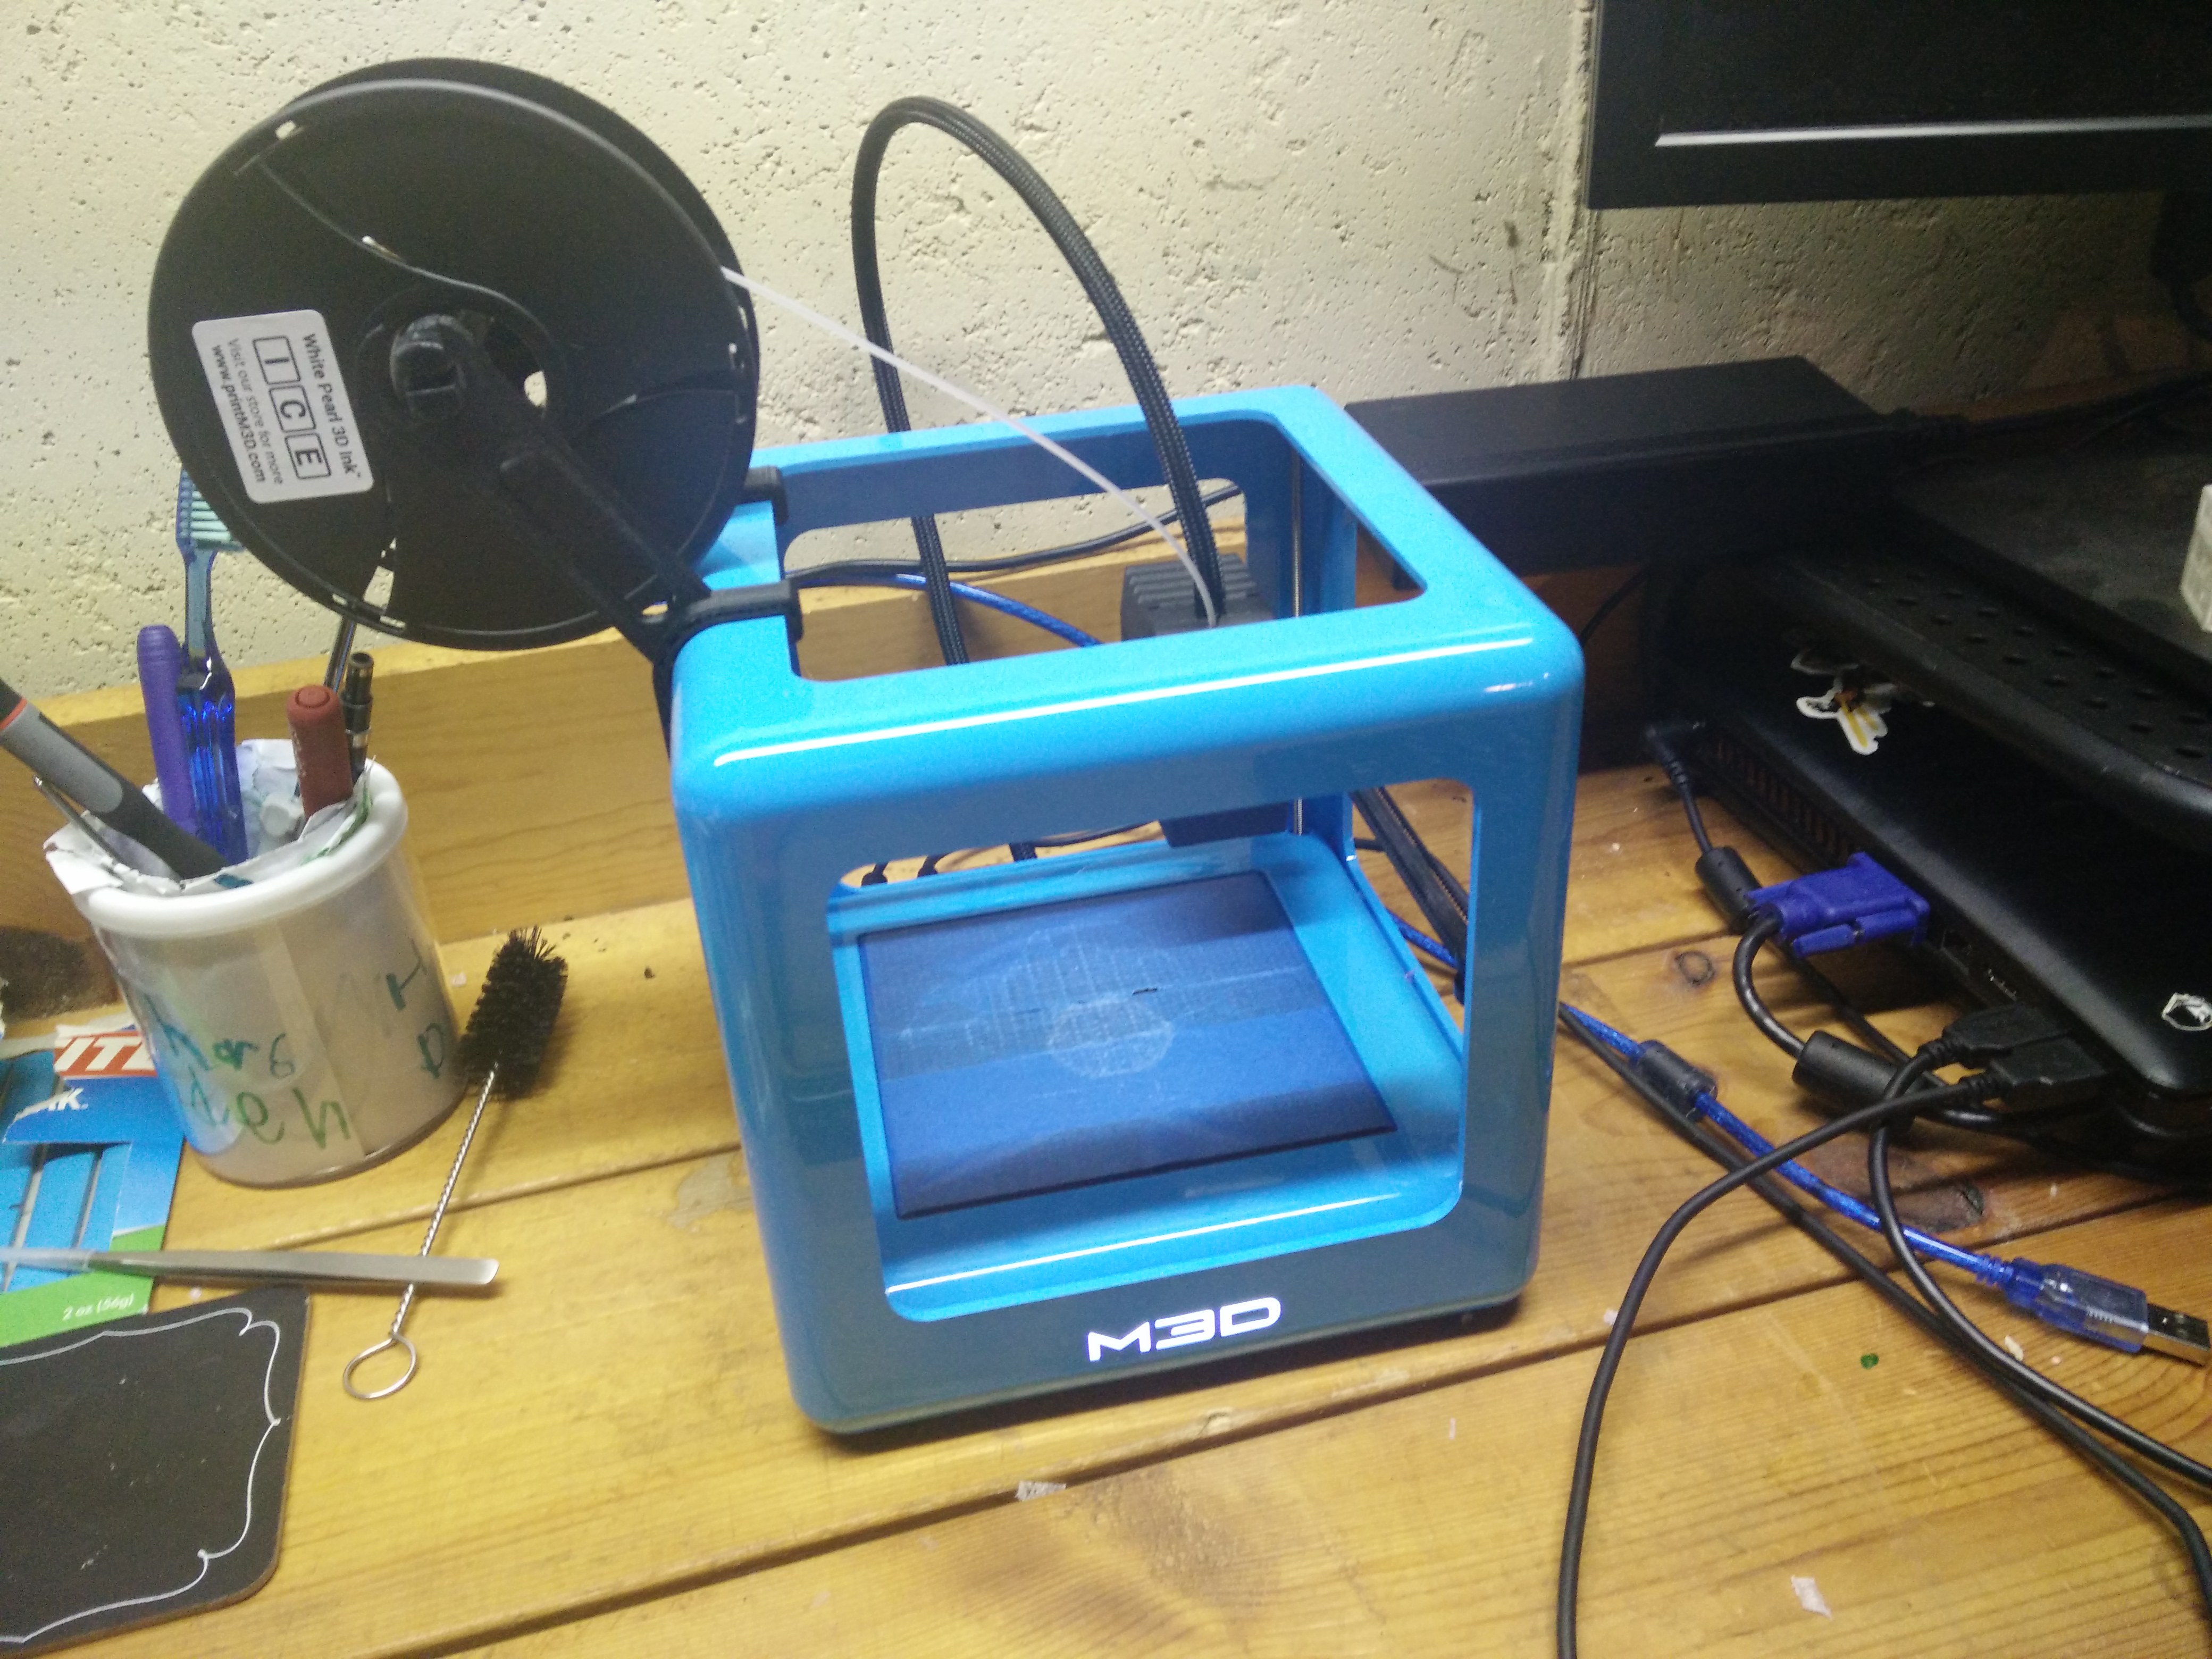
My Micro on my cluttered workdesk. Custom spool holder attached (printed with the Micro.)
I’ve had a few months to play with the Micro, and it’s impressed me beyond measure. After unboxing the machine I plugged it in, installed the software, and after a quick auto-calibration I was off and printing. No complicated setup. No fiddling with temperature settings, etc. There was already a spool of PLA filament loaded internally into the machine, so it was pretty much plug and play. You may notice the blue painter’s tape on the print bed in the photo above, but the Micro actually comes with a square of Buldtak in place. This actually works way better than painters tape, but I accidentally tore mine while removing a print. I’ll be getting more in the future, but blue painter’s tape works fine in the meantime.
So what did I print? My first few prints were simple Chess pawns. I printed one on the lowest quality setting, one on the highest, and one with a high quality setting, but a low fill setting. Here’s the results.
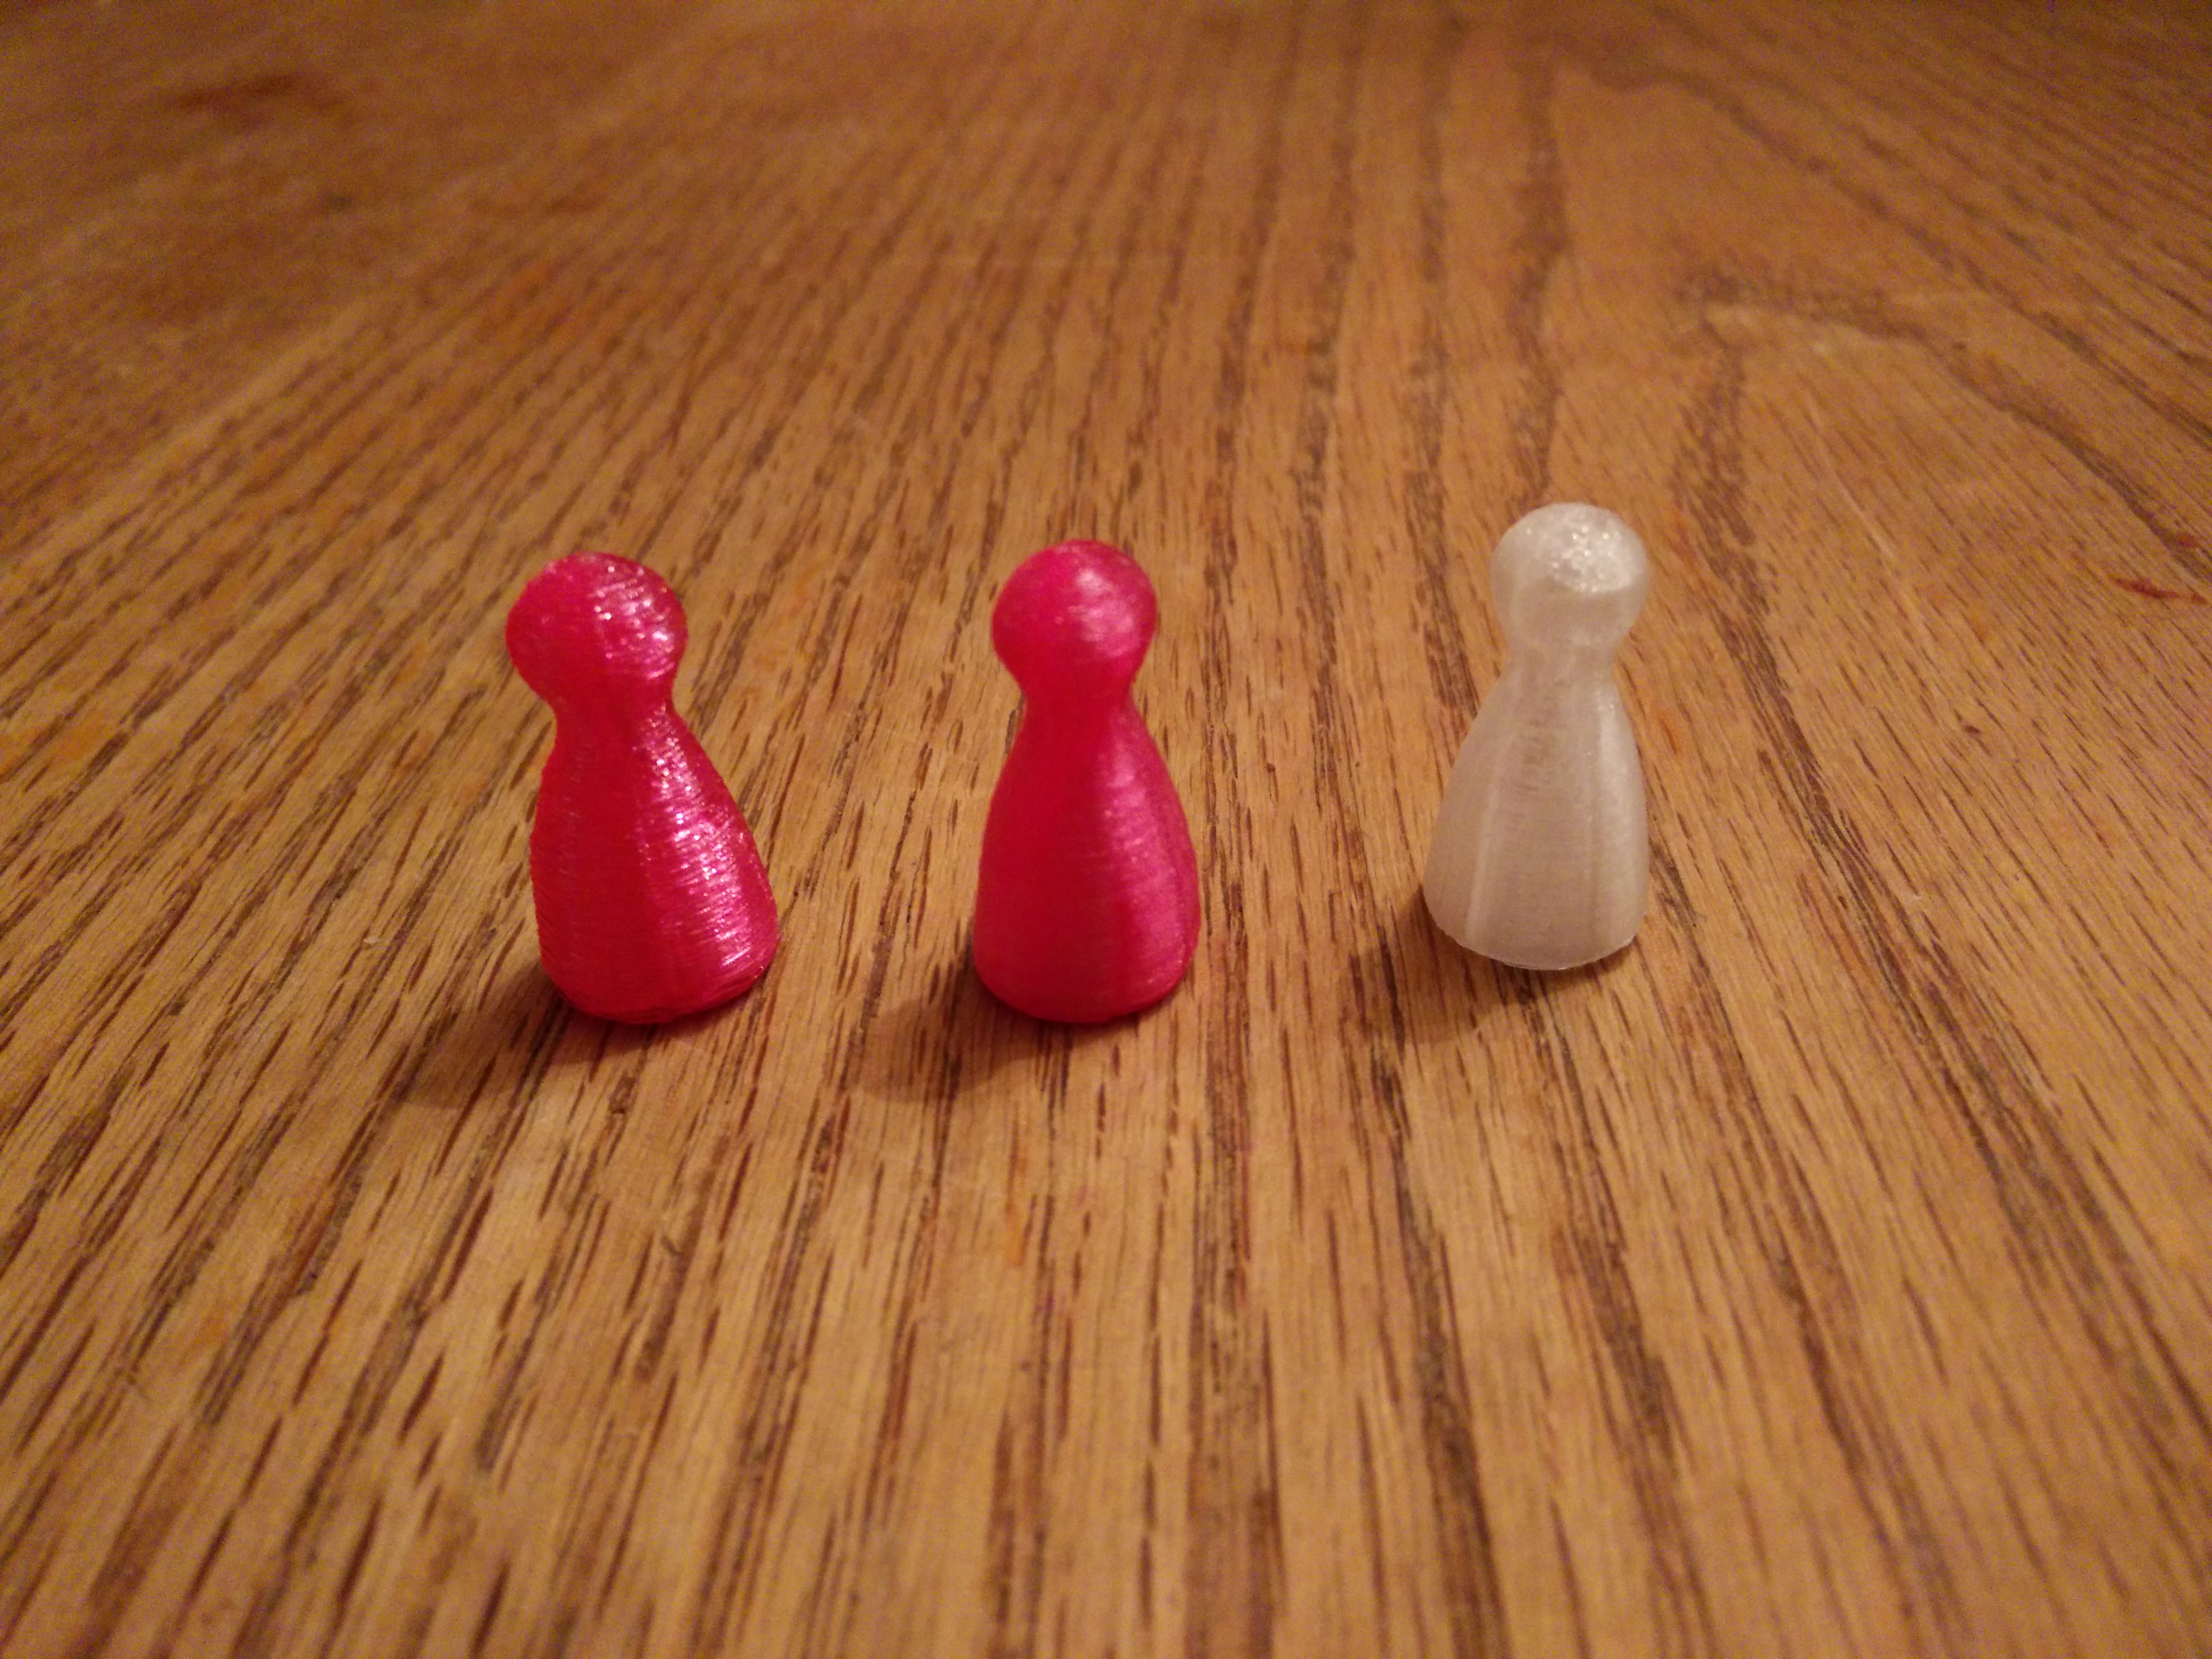 The high quality prints are really nice, and even the low quality looks pretty descent. I ended up doing some other jobs for more functional items in lower quality, while game pieces and such in high quality. After the pawns I tried printing out some stuff from the Open Board Game project, and a Deco Dieselbot miniature. After those, I printed the spaceships from Breach: Starship Duels.

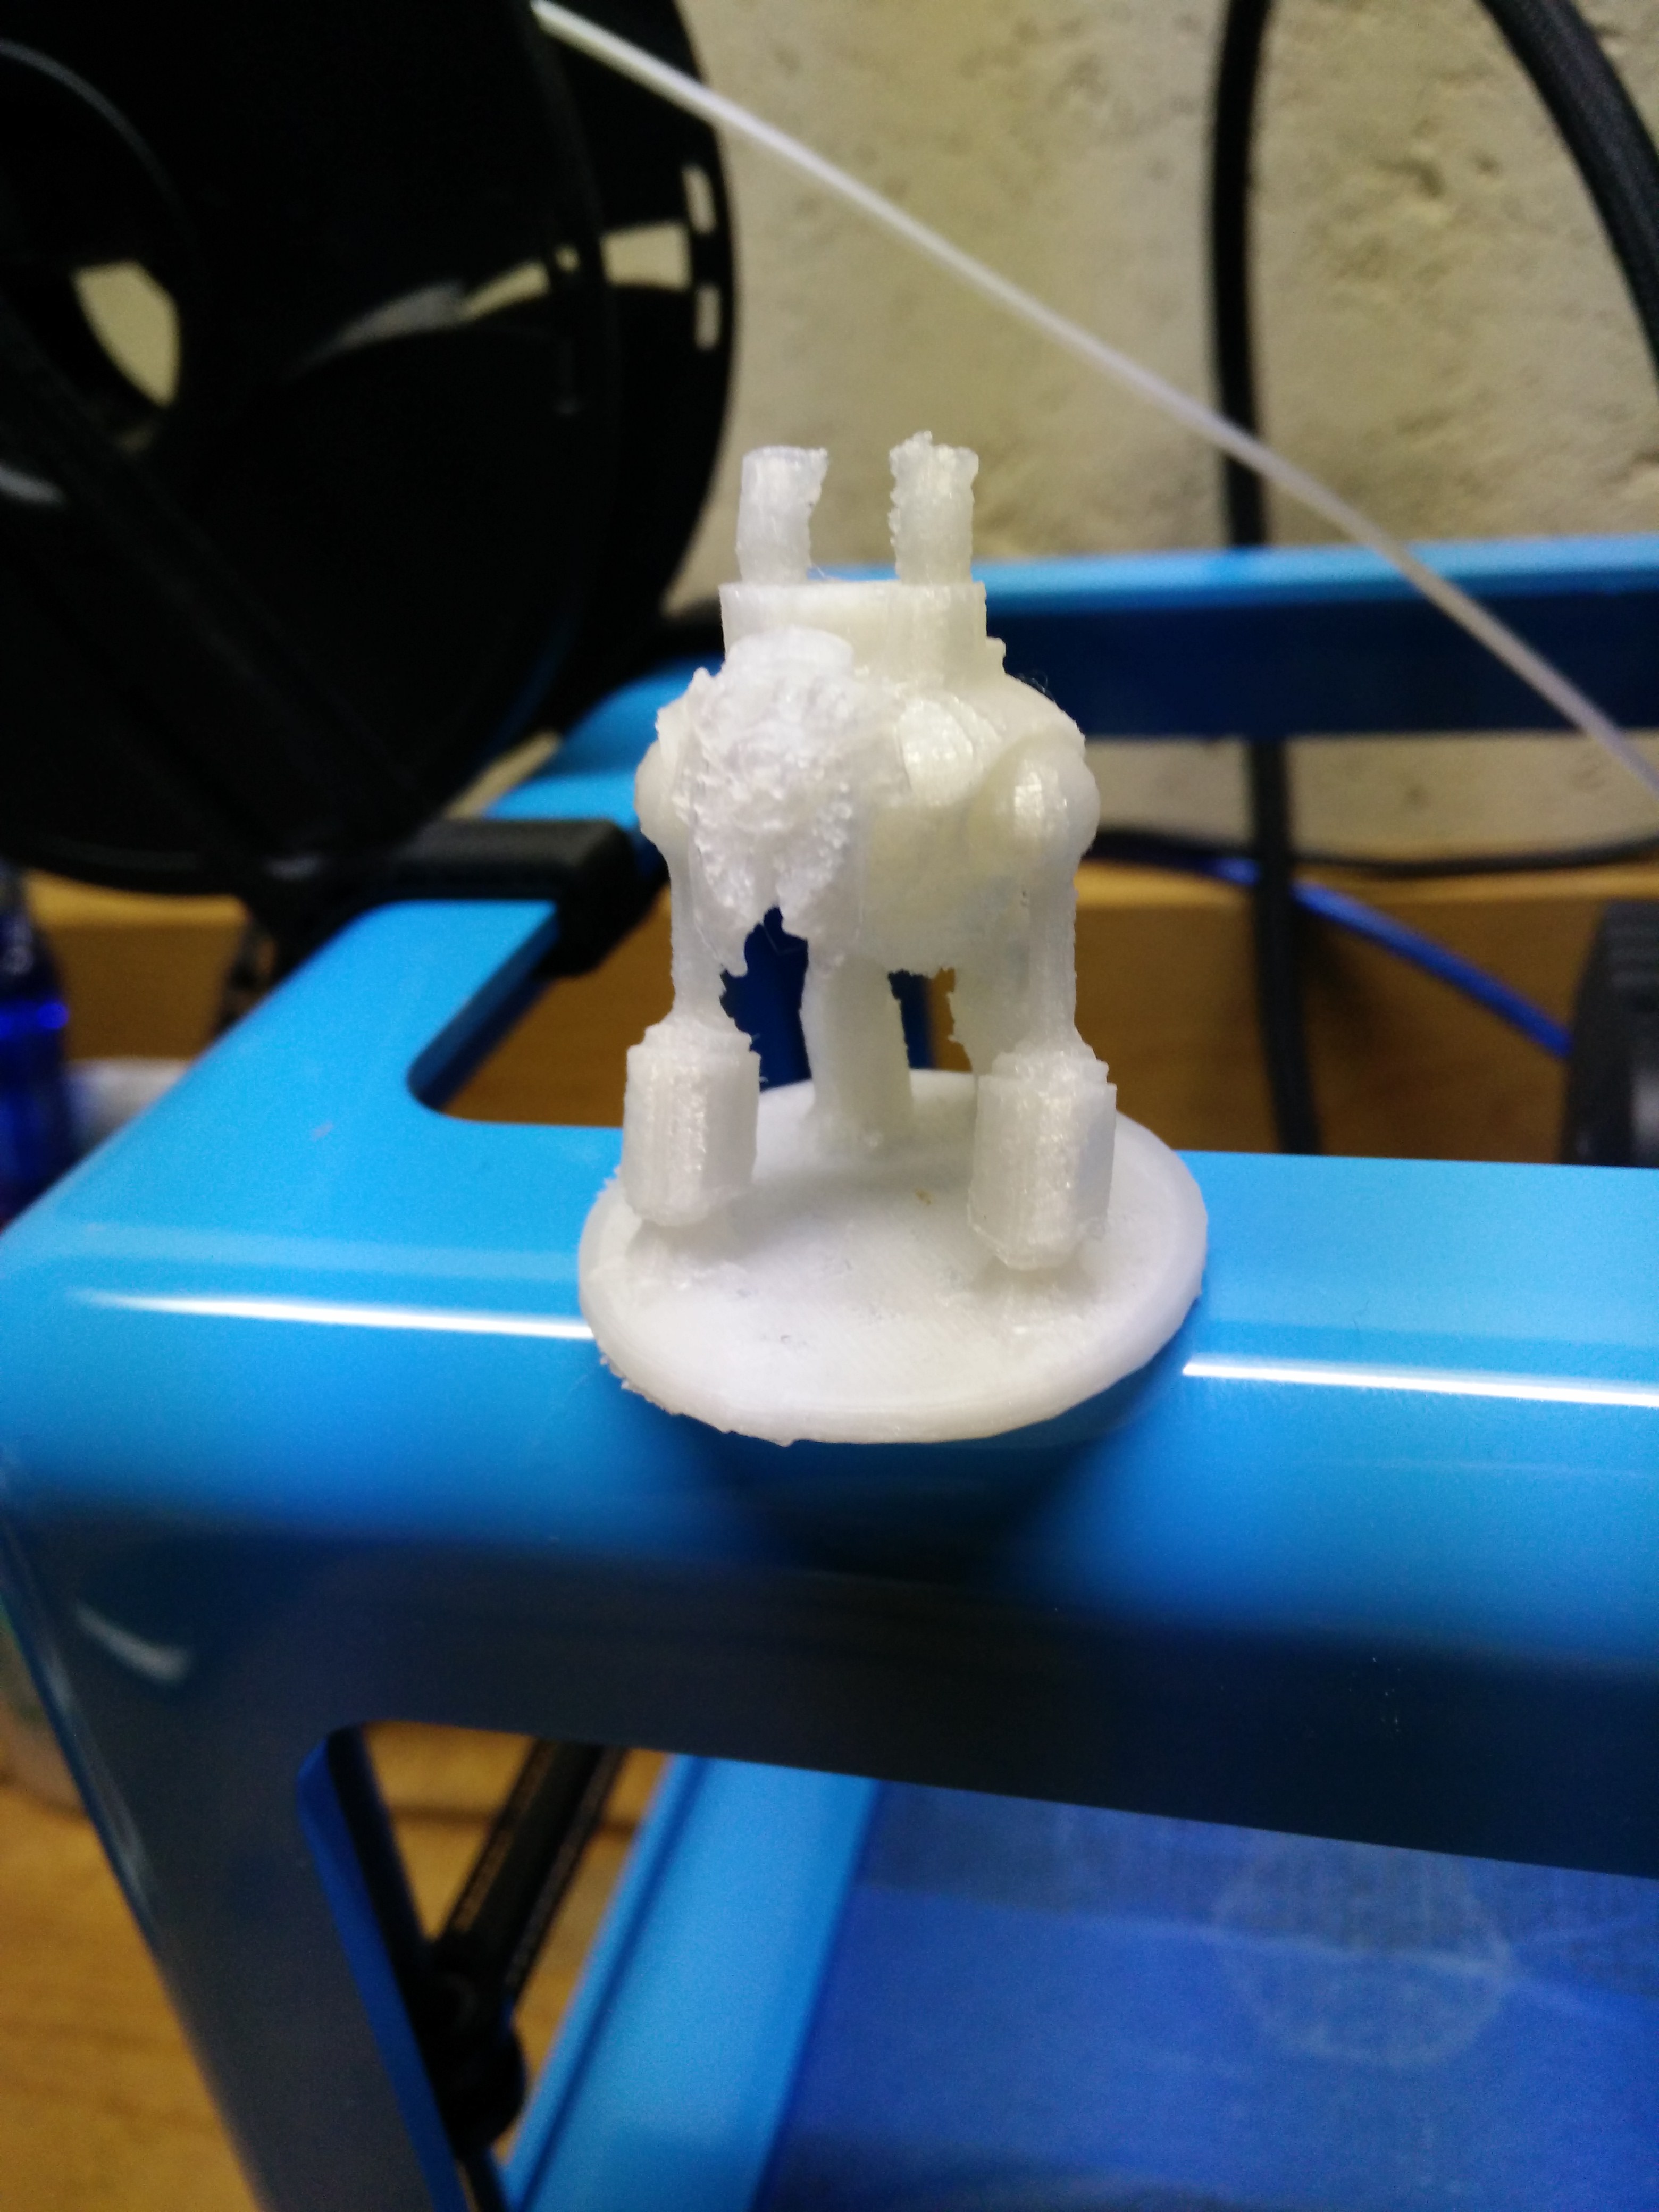
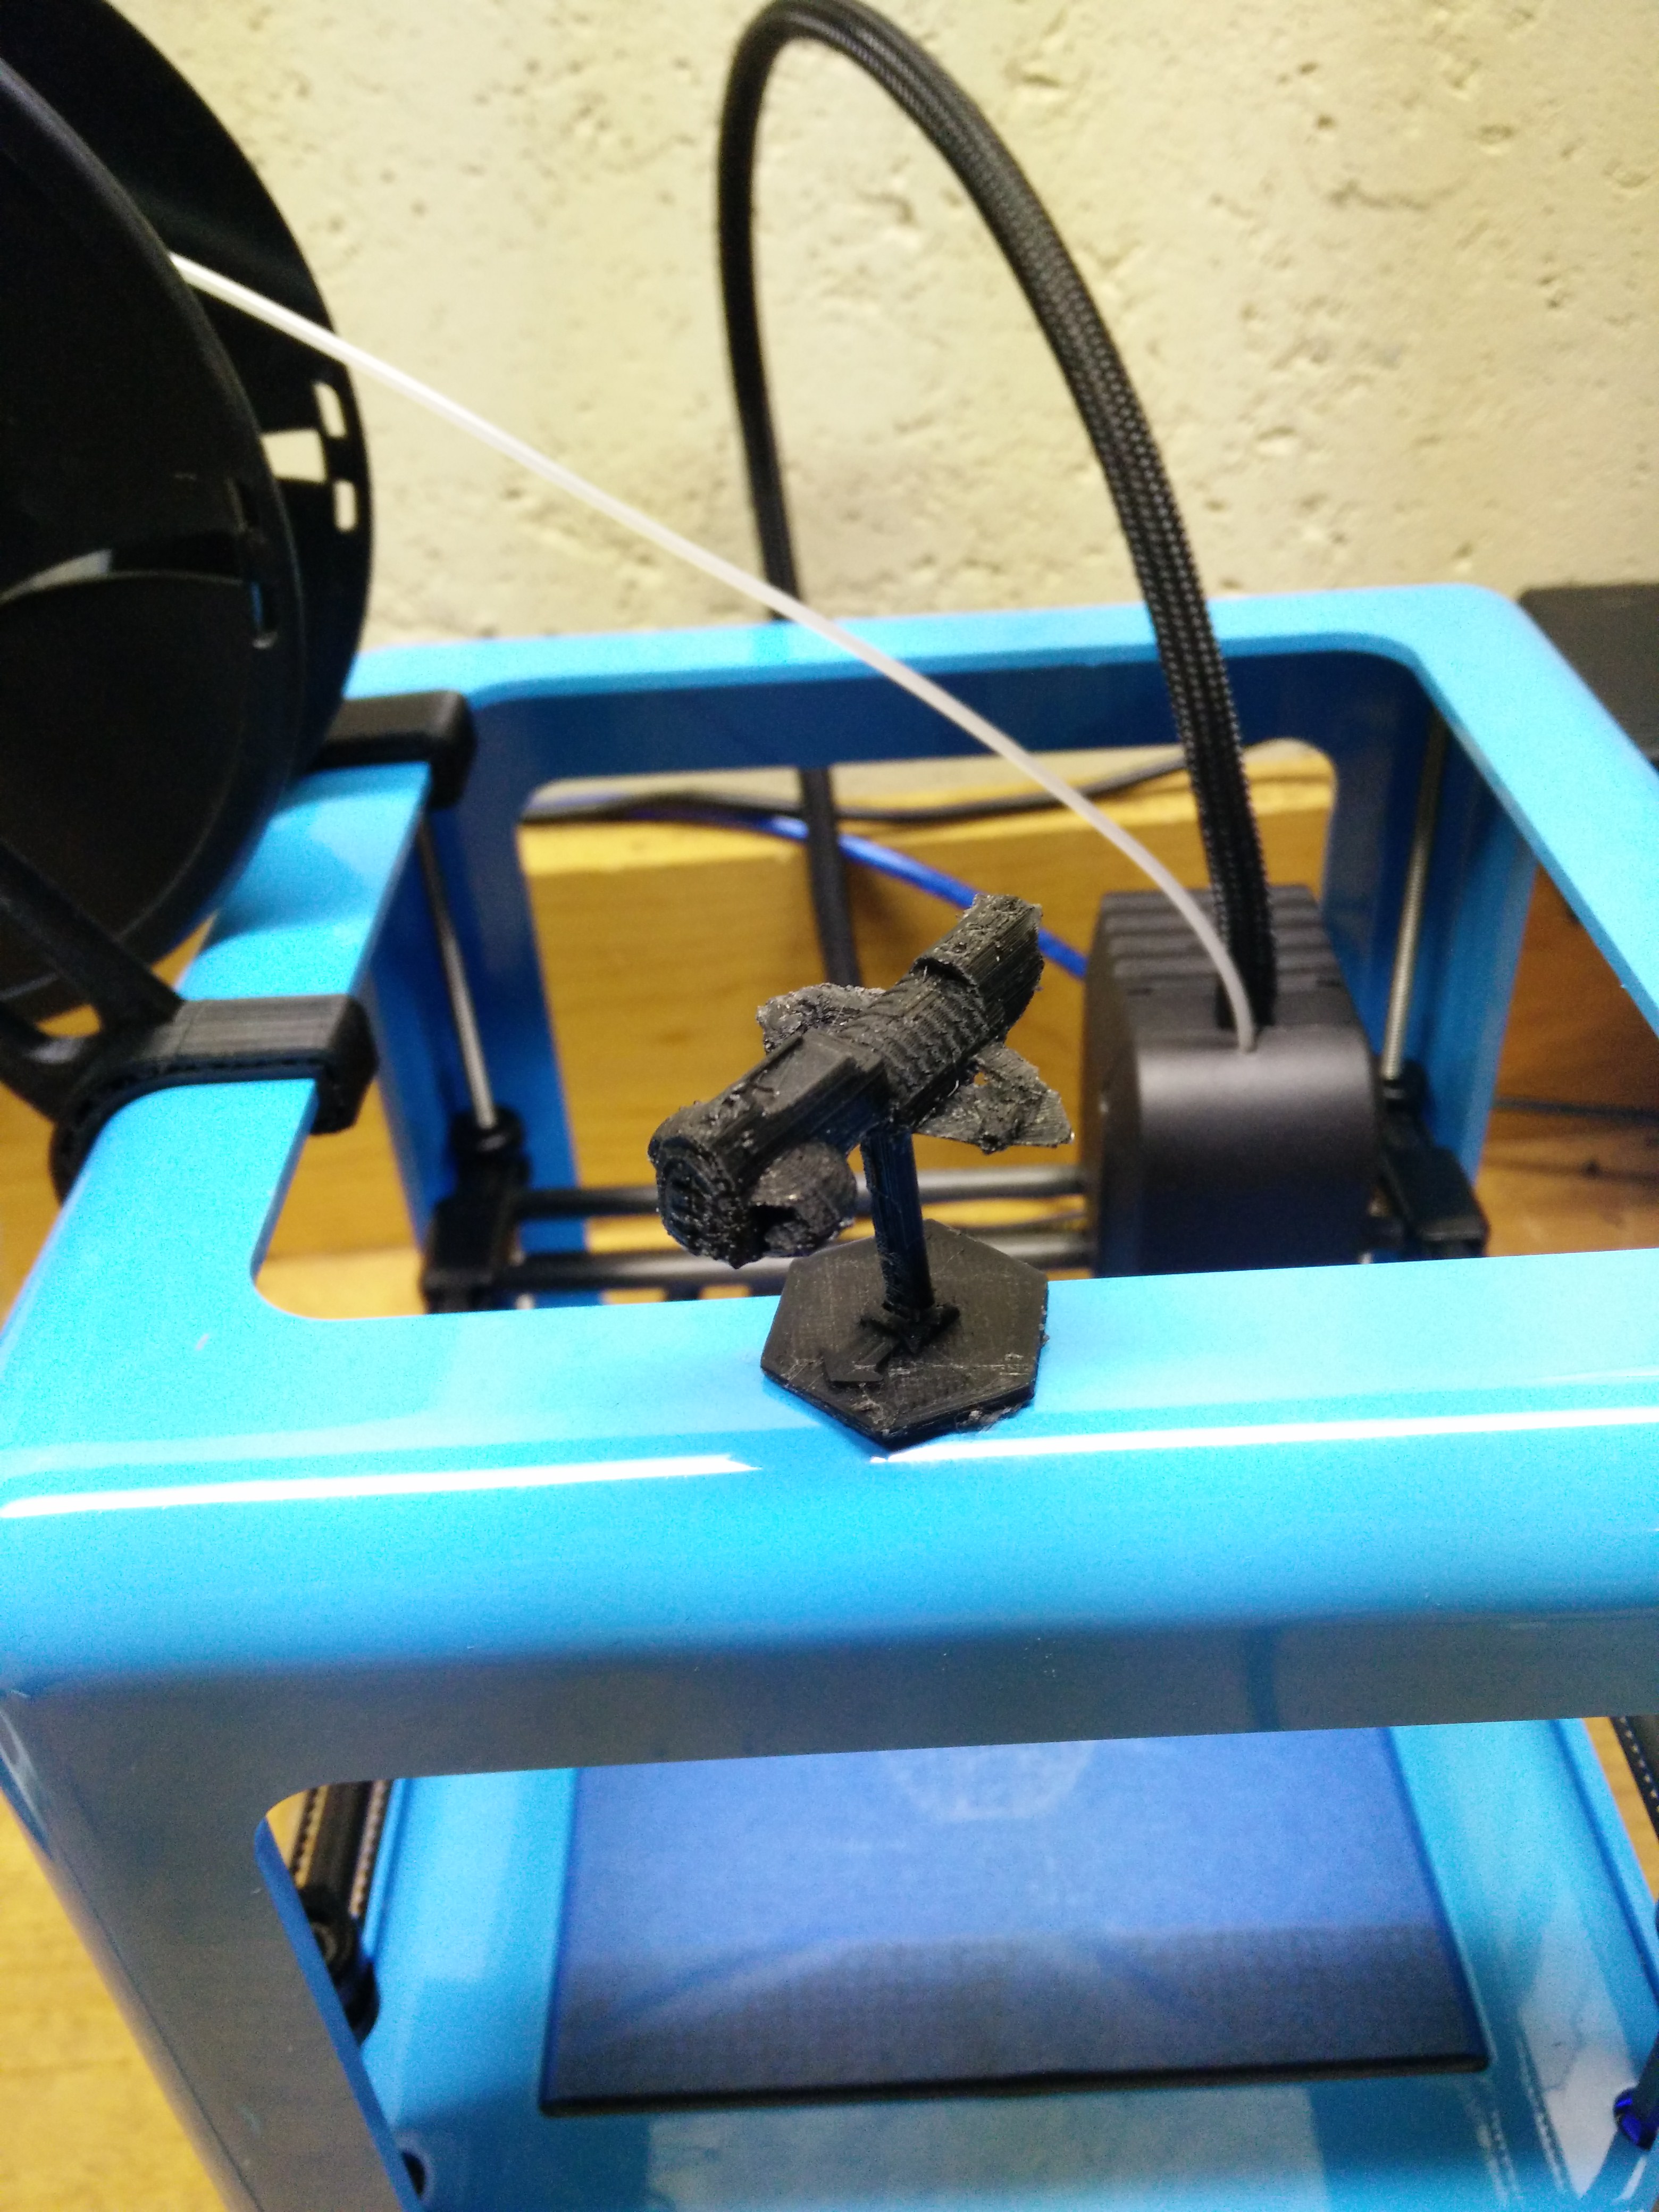
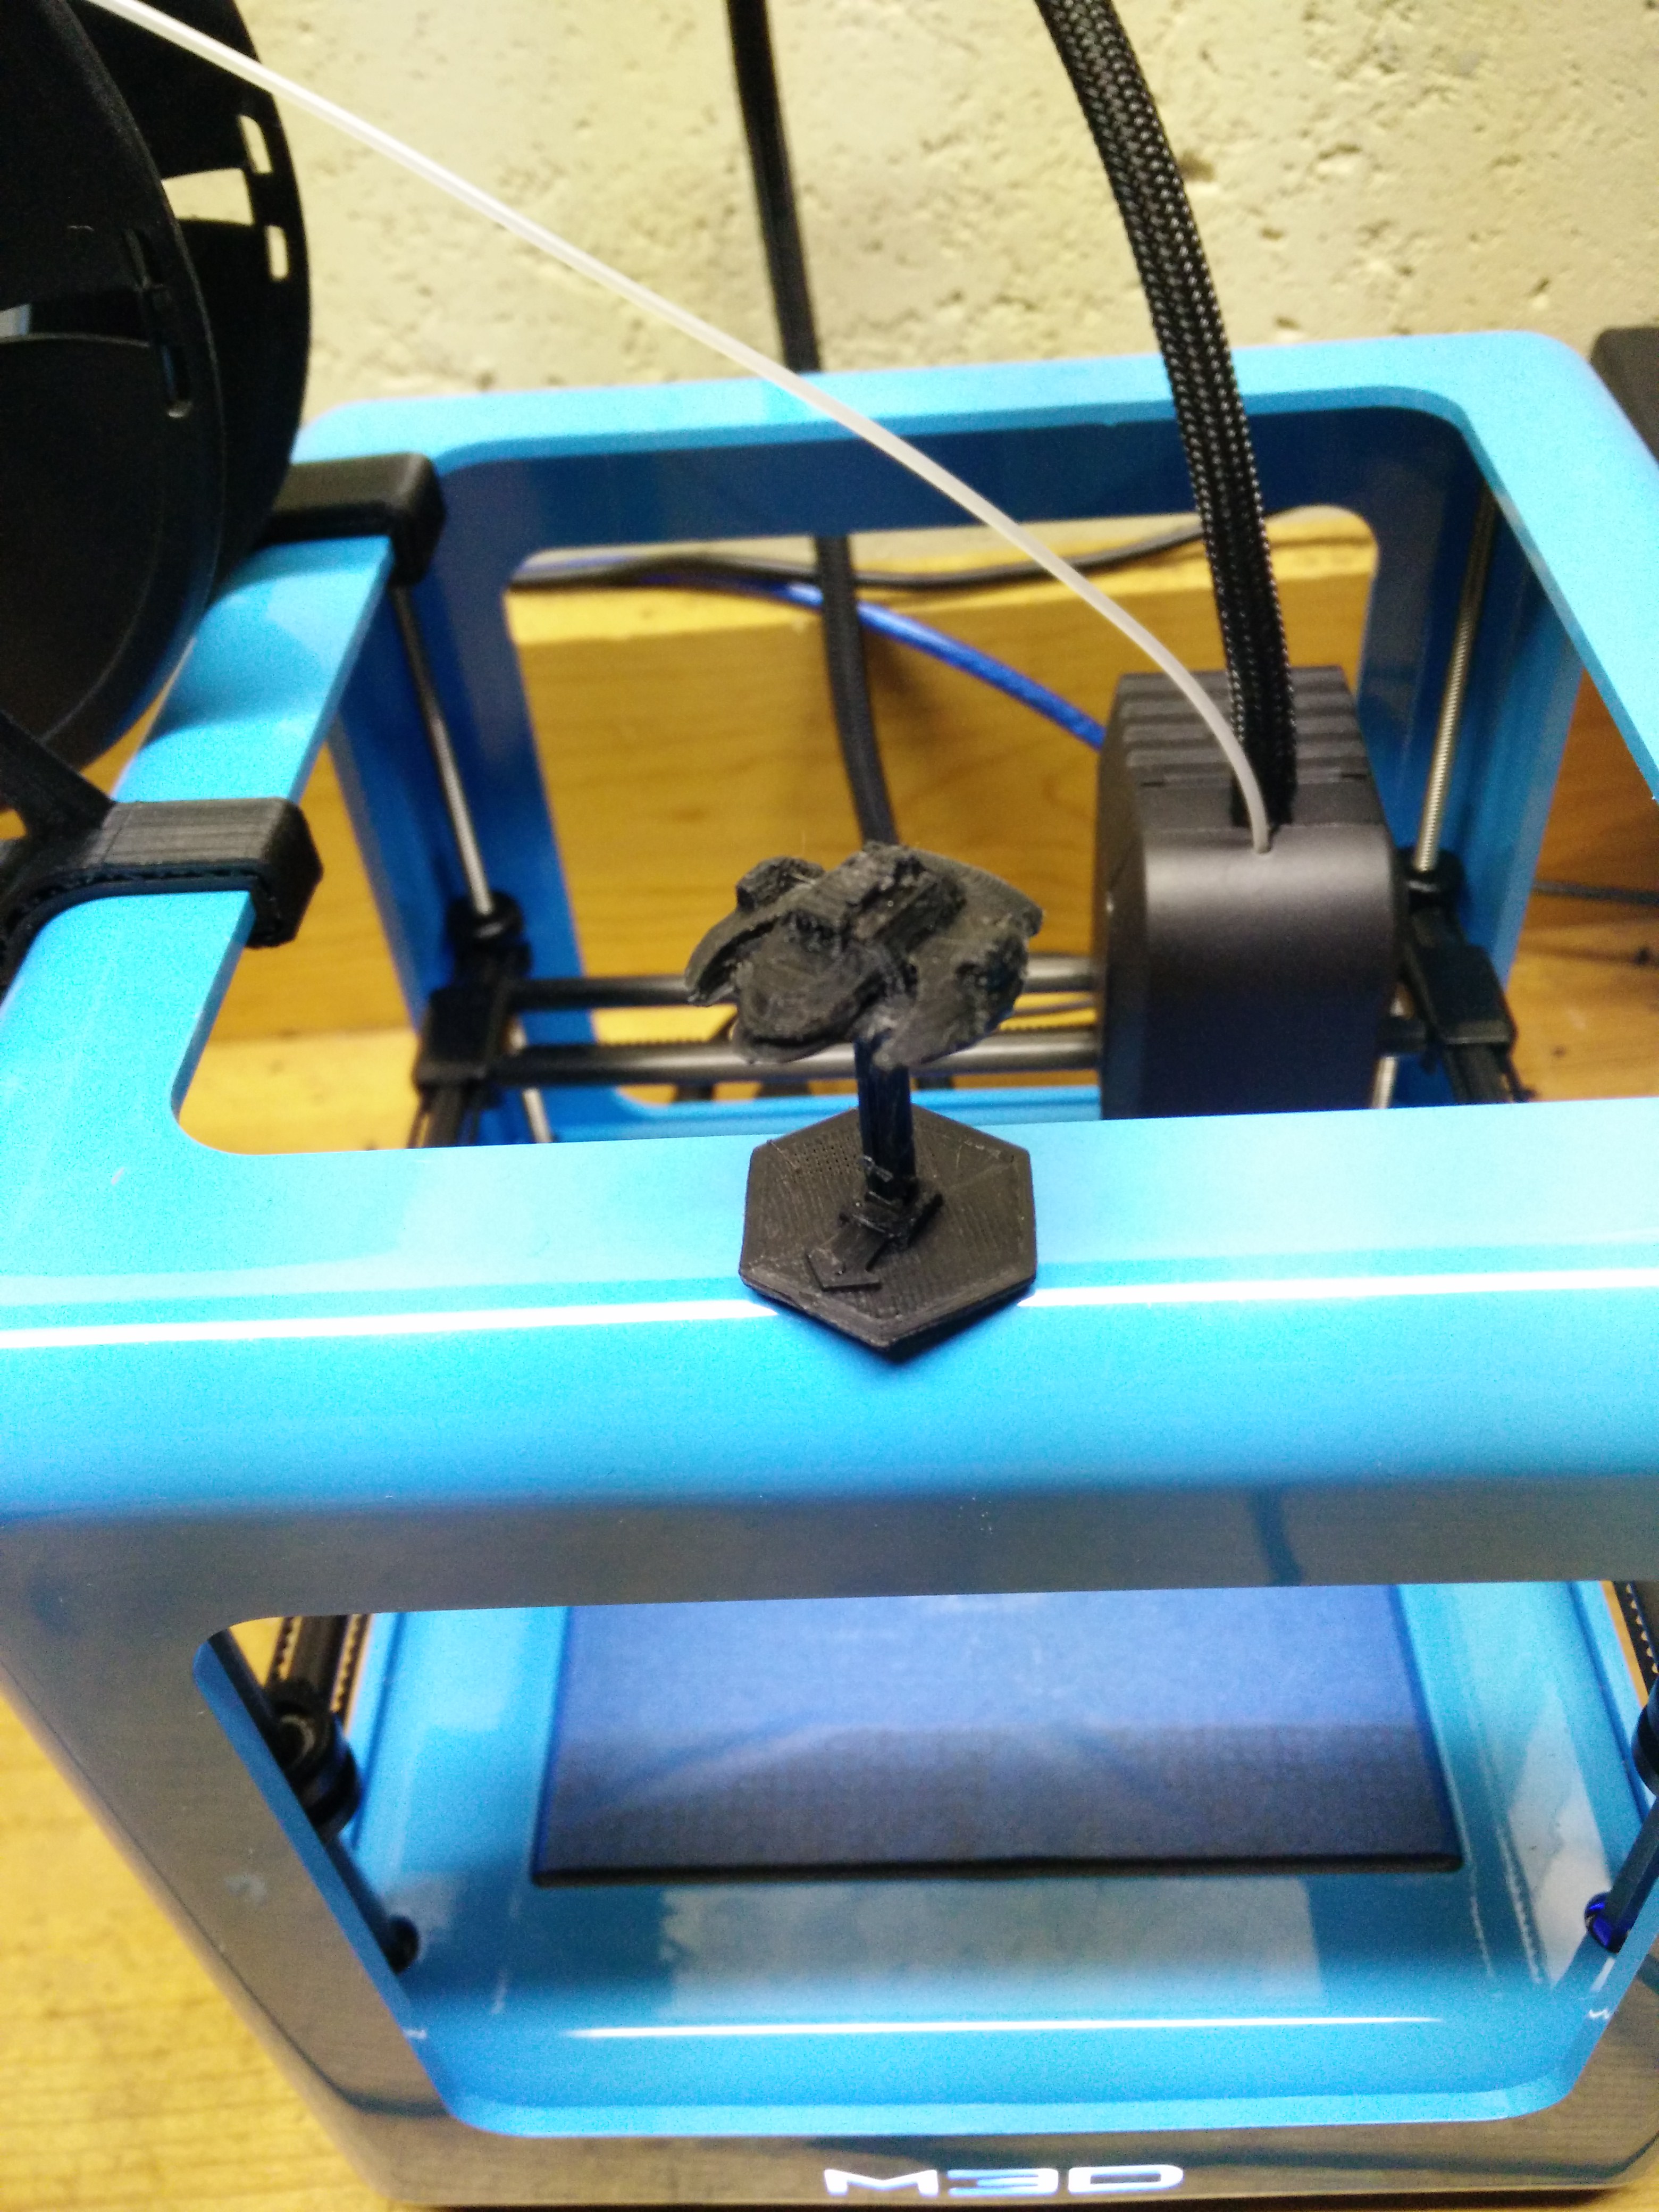
The Open Board Game pieces and the ships came out quite nice, but the Dieselbot’s details came out a bit choppy. It was actually one of the only items I’ve printed so far that I was a bit disappointed how it came out.
I got a bit ambitious after this, and got a project in mind I really wanted to try. My son’s 10th birthday was coming up at the time, and I though it would be really cool to print him out a Minecraft Chess Set. I only had clear and fuscia PLA filament, but I figured I could prime them when I was done printing. 127 hours later, I was done.
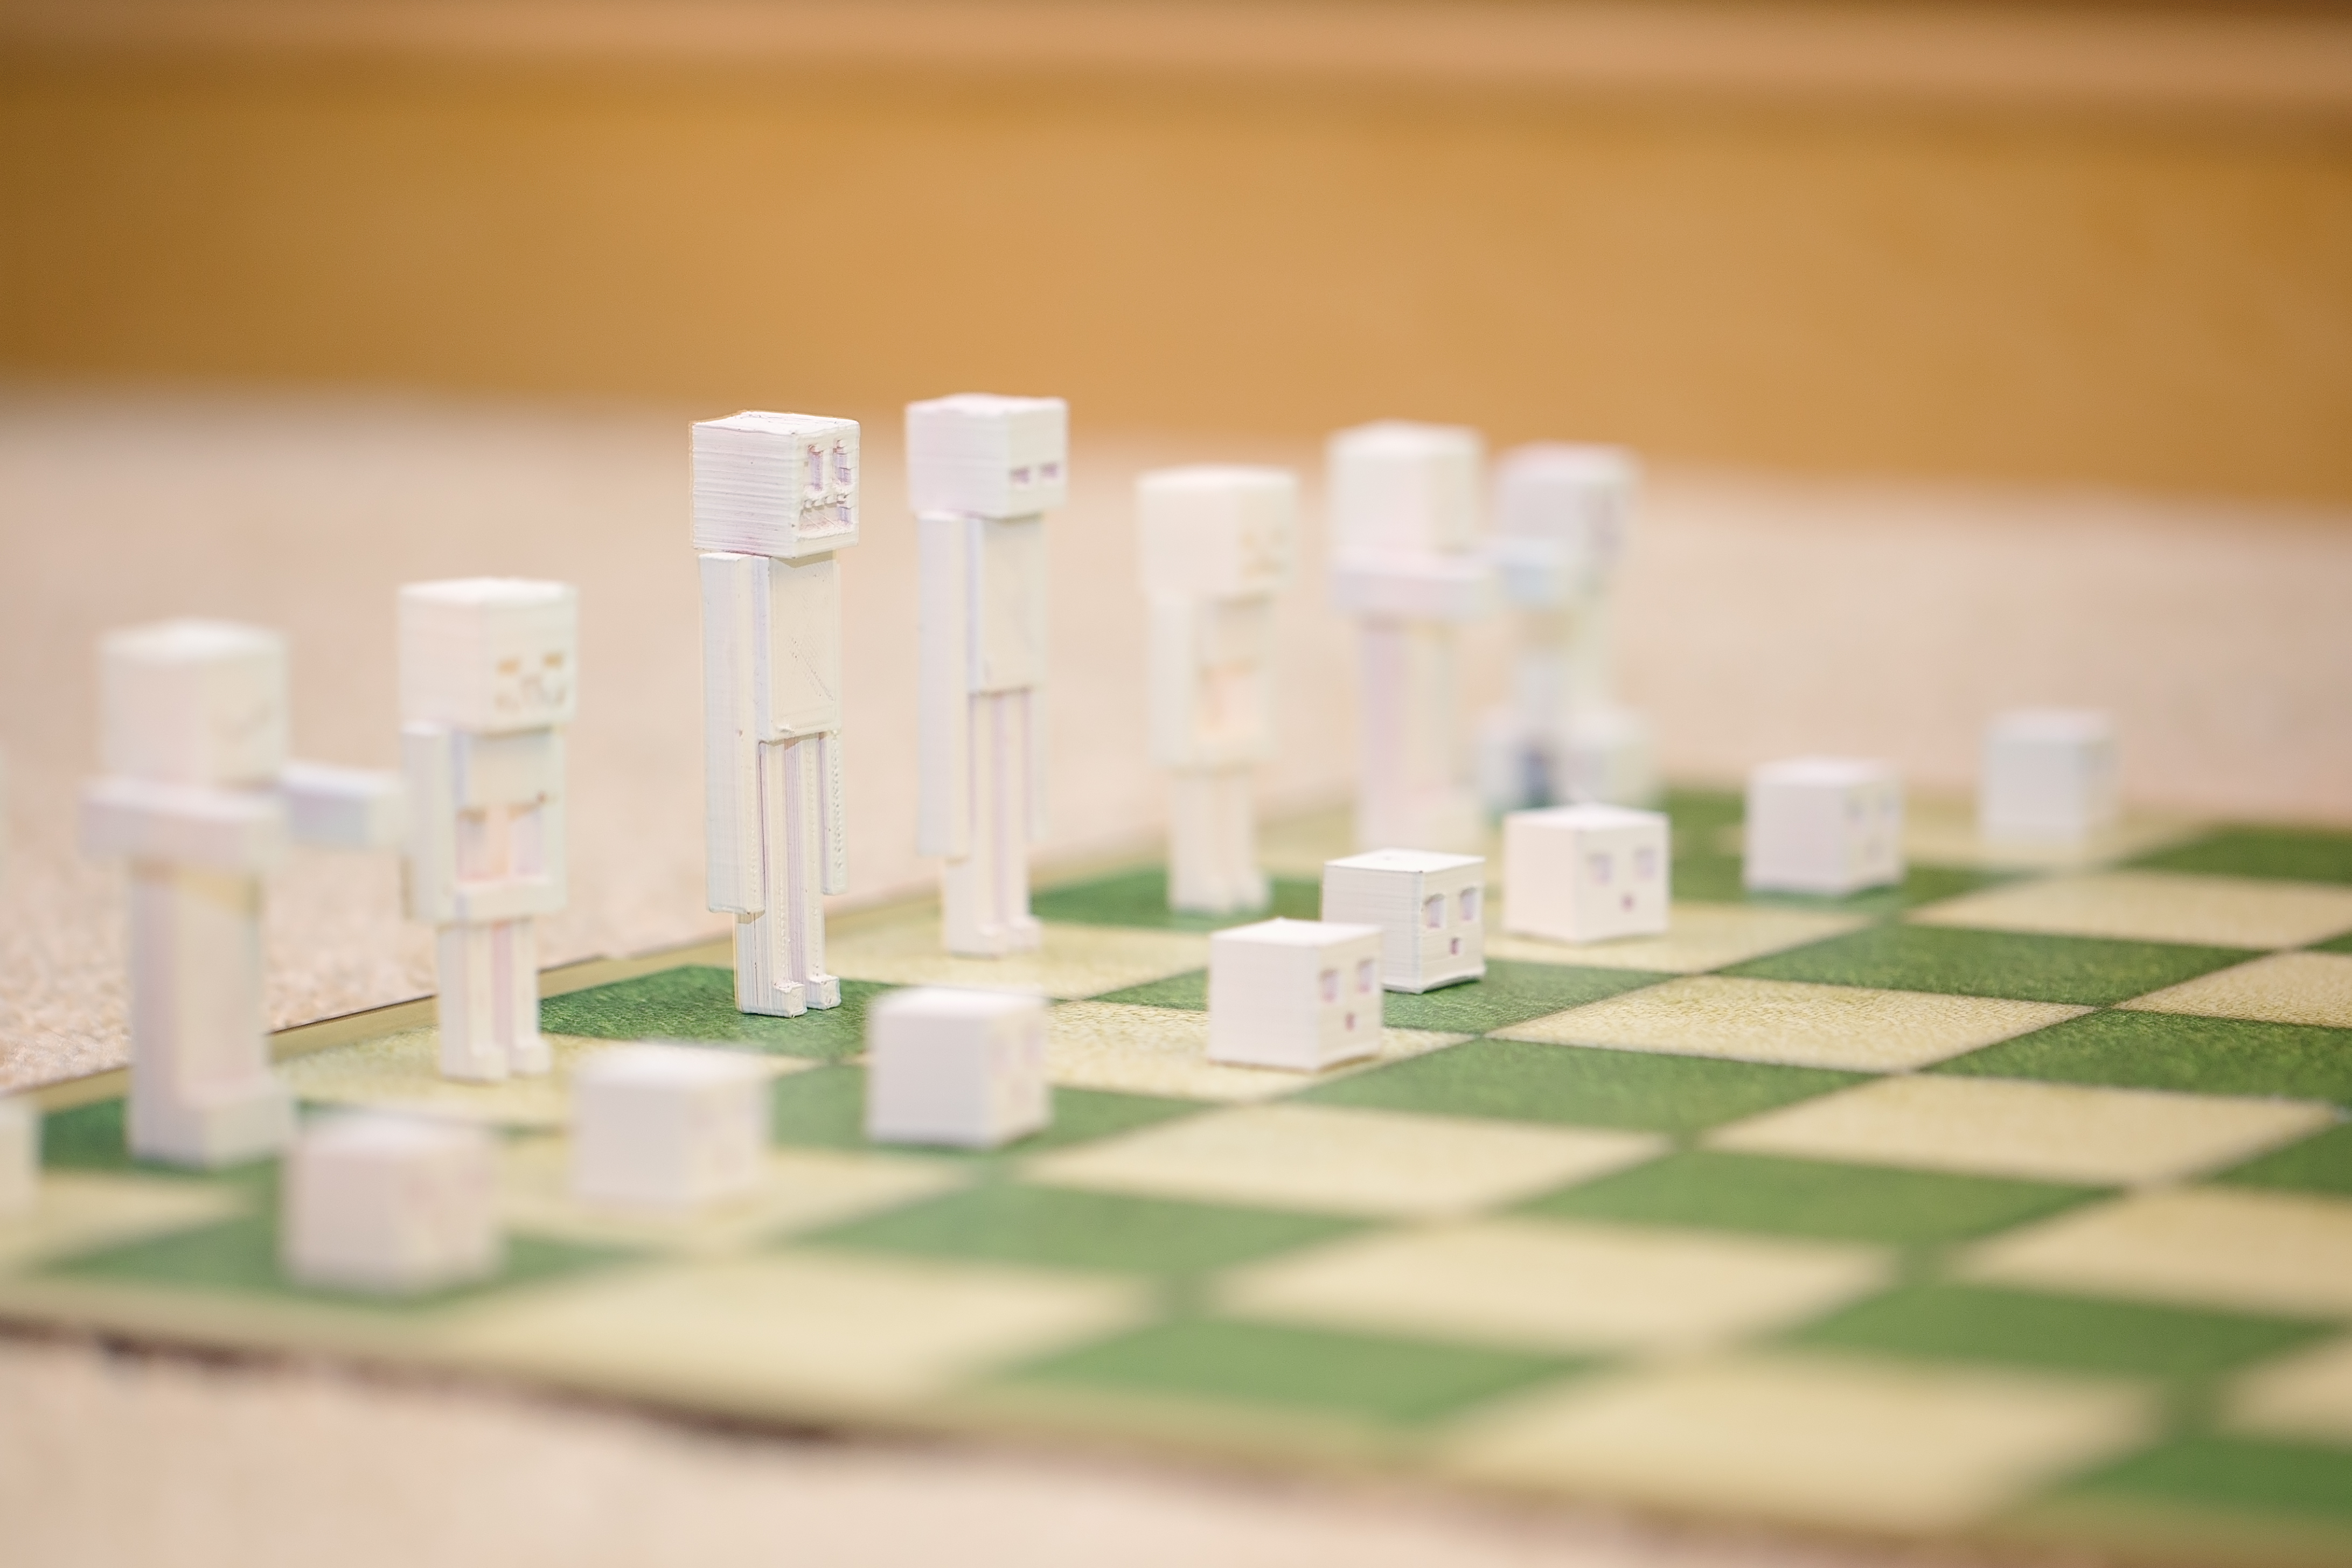 He loved it. I loved it. The plastic primed beautifully, and the prints came out amazing. It took a bit to clean some of the smaller area’s supports off, but that’s nothing a bit of patience couldn’t handle. Of course this brings me to the one real downfall of the Micro 3D. It’s slow. A lot of prints I’ve tested on other machines took twice to four times as long to print. I can’t complain too much, though, because of the ease and consistency of the printer. It really is as easy as a quick setup and you’re on your way. Out of 4 spools of filament’s worth printing, I’ve had maybe 2-3 prints fail.
Last, but certainly not least, I started thinking of printing some adaptive game accessories. My wife and I run a social communications game group, and I was trying to think of ways I could improve some of the kids’ gaming experience. The first though that came to mind was something to help them hold hands of cards. A quick search and I found a great card holder. It was a bit large for the Micro, but I was easily able to scale it down with their software to produce something that has worked like a charm.
 Since then, I’ve also printed some larger meeples that are easier to hold, along with card and dice trays.
The Micro has helped me learn a lot about 3D printing, and set a nice standard for me to compare other printers to. It’s ease of use, simple setup, and consistent printing more than make up for the slower print times. The price isn’t too shabby, either. It’s an amazing little workhorse, and I’ve actually done a lot of printing that isn’t gaming related, too. My next project is to help a local designer buddy of mine print some pieces out for his prototypes. It’s an exciting project, and I can’t wait to share the results.
Micro 3D – $350
Pros: Price, ease of use/setup, consistent
Cons: Speed
Overall Verdict: Excellent
A demo Micro 3D unit and 2 spools of filament were provided for this review.
1 Comment
Sorry, the comment form is closed at this time.
Trending
- Massdrop.com
- Oh the Irony—Illuminati Card Game Continues to Inspire Conspiracy Theorists
- Footprints, an Educational Ecology Game
- USPS Adds Board Game Flat Rate Box
- Home
- Baila, the Estonian Drinking Card Game
- Crystal Caste Wins Dice Patent Suit Against Hasbro
- Mirror Game, Red and Blue
- Hasbro and Mattel Merger?
- Are Board Games Dangerous?


Archives
Most Popular Articles
- Oh the Irony—Illuminati Card Game Continues to Inspire Conspiracy Theorists
- The 20 Most Valuable Vintage Board Games
- The Truth About Dominoes On Sunday in Alabama
- Sequence Game, and Variants
- USPS Adds Board Game Flat Rate Box
- Baila, the Estonian Drinking Card Game
- The 13 Most Popular Dice Games
- Are Board Games Dangerous?
- Guess Who? The Naked Version
- What Happened to the Jewel Royale Chess Set?
Recent Posts
- Toy Fair 2019—Breaking Games
- Talisman Kingdom Hearts Edition
- Toy Fair 2019—Winning Moves
- Toy Fair 2019—Games Workshop
- Toy Fair 2019—Star Wars Lightsaber Academy
- Toy Fair 2019—Stranger Things Games
- Toy Fair 2019—HABA
- Licensing Roundup
- Game Bandit
- 2018 A Difficult Year For Hasbro But Not For D&D Or MtG
Recent Comments
- on Toy Fair 2019—Winning Moves
- on Game Bandit
- on Second Look—Dungeons & Dragons Waterdeep Dragon Heist
- on Crowdfunding Highlights
- on Beyblade SlingShock
- on Game Bandit
- on Game Bandit
- on Watch This Game!, the Board Game Review Board Game
- on Second Look—Vampire: The Masquerade 5th Edition
- on Palladium Books Loses Robotech IP License, Cancels Five-Year-Overdue Robotech RPG Tactics Kickstarter
Great post! I bought my printer (Ultimaker Original+) for prototyping game pieces! I’m looking forward to seeing the rest of this series :D